Have you heard of the super-powerful, gut-healing health benefits of kefir and want to give it a try? This guide will teach you what to ferment your kefir in, where to find grains, how to make kefir, what to look for in finished kefir, how to activate new grains and how to store them. Finally, some tips on flavoring kefir and makin’ it bubbly.
What is Kefir?
Kefir is traditionally fermented dairy milk using a cauliflower-like culture called ‘grains’ to ferment it. These grains contain bacteria and yeast that inoculate the milk, creating a probiotic-rich beverage known to create vibrant health. According to legend, Prophet Mohammed gifted the grains, which flourished in the Caucasus mountains, to local tribesmen and Christians. Families would leave their animal skins of kefir milk outside the house and each passerby would kick the skins, thus gently stirring the kefir. The Caucasus tribesmen carefully guarded this health-giving secret for hundreds of years. In the early 1900s the Russians acquired the knowledge and since then have incorporated kefir into their standard routine health drink for hospital patients.

Kefir is traditionally fermented dairy milk using a cauliflower-like culture called ‘grains’ to ferment it. These grains contain bacteria and yeast that inoculate the milk, creating a probiotic-rich beverage known to create vibrant health.
Health Benefits of Kefir
Kefir contains 30 to 100 strains of probiotics. To give you an idea of its potency, yogurt with live cultures may contain only two to four strains. Probiotics are hugely beneficial for gut health which is at the root of most of our health problems. Kefir protects the lining of your gut, is a fantastic immune support, and is great for autoimmune conditions. Once your gut is healed, other noticeable changes occur: for example, healing of skin problems such as psoriasis. Kefir was originally dubbed a “feel good” drink in the Turkish language and is a natural antidepressant. Additionally, it can improve allergy conditions. Last but not least, kefir is fantastic for getting you regular! To get more info on all these health benefits and more, please read my blog post, “Yes, Kefir is Good for You”.
Dairy vs. Water Kefir
I’ll admit, I am particularly biased towards dairy kefir over water kefir, so this tutorial is specifically geared to dairy kefir. Here’s why I would always choose dairy kefir over water kefir:
- Much higher probiotic count. Water kefir only contains about 15 probiotic strains whereas dairy kefir contains between 30-100.
- All the benefits of raw, grass-fed milk are also in kefir
- Dairy-free kefirs are addressed in the FAQ below.
Should I use Raw or Pasteurized Milk for Kefir?
Based on the nutritional research I’ve done on raw grass-fed milk, I would always recommend using raw, grass-fed milk from a certified dairy whenever possible. The only exception to this is when you’re just starting with new grains, where you’ll need to use pasteurized milk.
Can’t I just buy Kefir from the Store?
Store-bought kefir has these disadvantages:
- It is usually pasteurized, meaning much of the nutrition and enzymes in the raw milk itself are lost.
- Because it is pasteurized and commercially processed, the strength and number of probiotics strains are greatly reduced, making it less effective as a health remedy. Bacteria are sensitive to heat and will die off when pasterurized.
What to Ferment Kefir In
It’s important to only ferment your kefir milk in glass, and not in aluminum or plastic. This is because kefir is acidic and acidic foods can leach toxins from their containers. You can use any glass jar from previous foods such as spaghetti sauce or other jarred foods. I like to purchase special canning jars such as Ball or Mason jars.

Where To Find Kefir Grains?
Grains that have been recently used to make milk kefir are called “activated grains”. These contain no wheat grain, but are a culture of bacteria and yeasts. Activated grains are ideal for getting started with kefir as you don’t have to “re-activate” them. Ideally, you may find activated grains from a friend, a local health food store, or a co-op. However, if you don’t have a source for activated grains, you can buy grains online. Kombucha Kamp has an excellent reputation and I’ve ordered both kombucha scobies and kefir grains from their small online store. These grains will have to be activated.
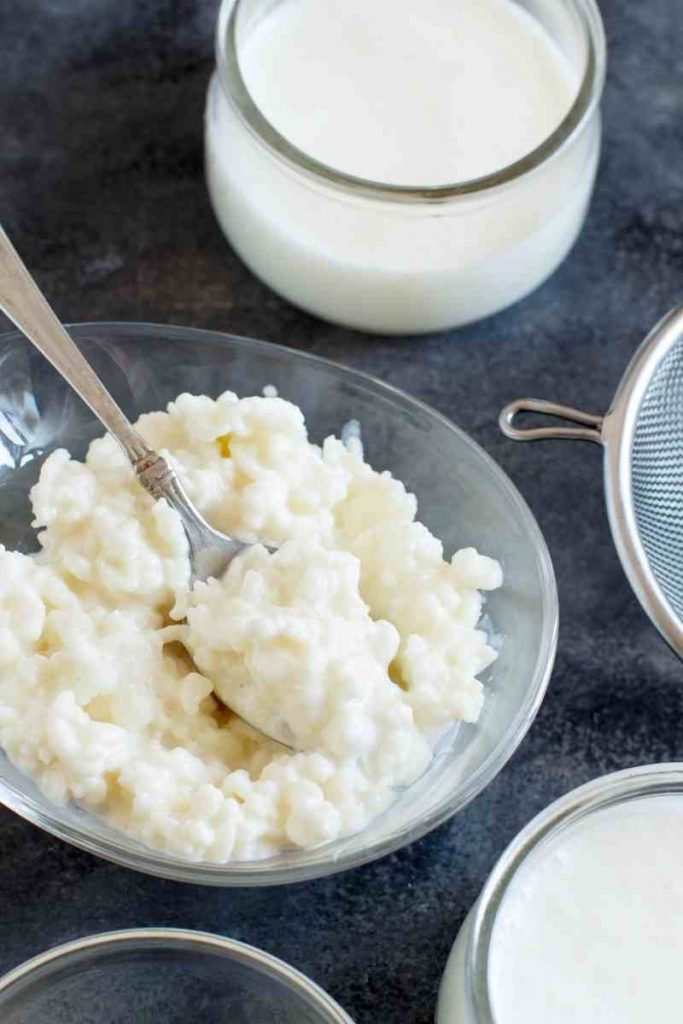
How to Activate New Kefir Grains
New kefir grains are grains that haven’t been used recently to make kefir. If you’d like to order online, I can recommend ordering grains online from Hannah at Kombucha Kamp. She’s been around a long time and has excellent customer service.
- Put 1-2T of new, unactivated grains into a pint of pasteurized milk (not raw). It’s important to use pasteurized milk just to activate the grains. The reason for this is that high levels of bacteria (probiotics) in raw milk compete with the bacteria in the kefir creating a less than positive outcome. However, once you’ve activated your grains, you can switch to using raw milk if you prefer. Cover with a cotton tea towel or clean washcloth and secure with a rubber band.
- Set the milk and kefir grains on the counter and allow to culture for 24 hours. If it hasn’t thickened, swap out the milk for a fresh pint of milk.
- Continue swapping every 24 hours until the grains are producing a thickened pint of kefir.
- Once the kefir is sour and slightly thickened, continue with steps 8 and 9 below.
- This method can also be used to reactivate grains that have been stored in the fridge or freezer.
How to Make Kefir with Activated Grains
- I recommend using a recipe such as my Dairy Kefir recipe printable for the correct ratios of milk and kefir grains. Over time, you may choose to adjust this recipe to suit your kitchen environment and household temperatures.
- The ideal fermentation temperature is 74 degrees Celsius, but a range of 70-80 degrees Fahrenheit (21-26 C) will work fine. A lower temperature will mean a slower fermentation. A warmer temperature will mean faster fermentation. Store the kefir in a cool dark place away from the sunlight.
- Cover the glass container of milk and grains with a cotton tea towel or breathable cloth.
- Use a post-it to write down the date and time it started.
- Allow it to ferment for 24 hours.
- Check for thickness and sourness.
- If it hasn’t thickened, check every couple of hours after that. It may take up to another 12-24 hours.
- Once it is slightly thickened and sour, strain out the grains using a plastic or stainless steel mesh strainer. Carefully use a rubber spatula to push the kefir out of the strainer into a large bowl beneath it.
- Move the grains to a new glass jar and cover them with milk.
- The new batch can be continued on the counter or you can store it in the fridge for up to two weeks. (See section on storing below.)

For a video tutorial, check out my You Tube dairy-kefir workshop.
What to Look for in Finished Kefir
Finished kefir should be thinner than yogurt but thicker than milk. It should have a sour, nearly fizzy taste. The longer it ferments, the fizzier it will taste. However, if you desire a fizzy taste, it’s ideal to do a second fermentation.
Making Kefir Cheese
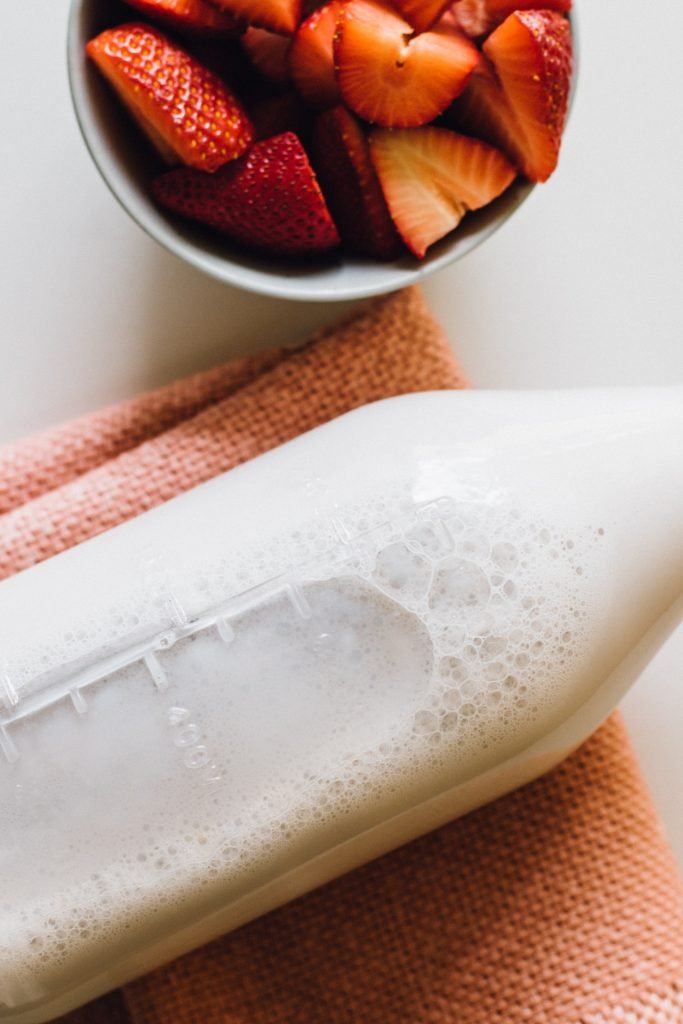
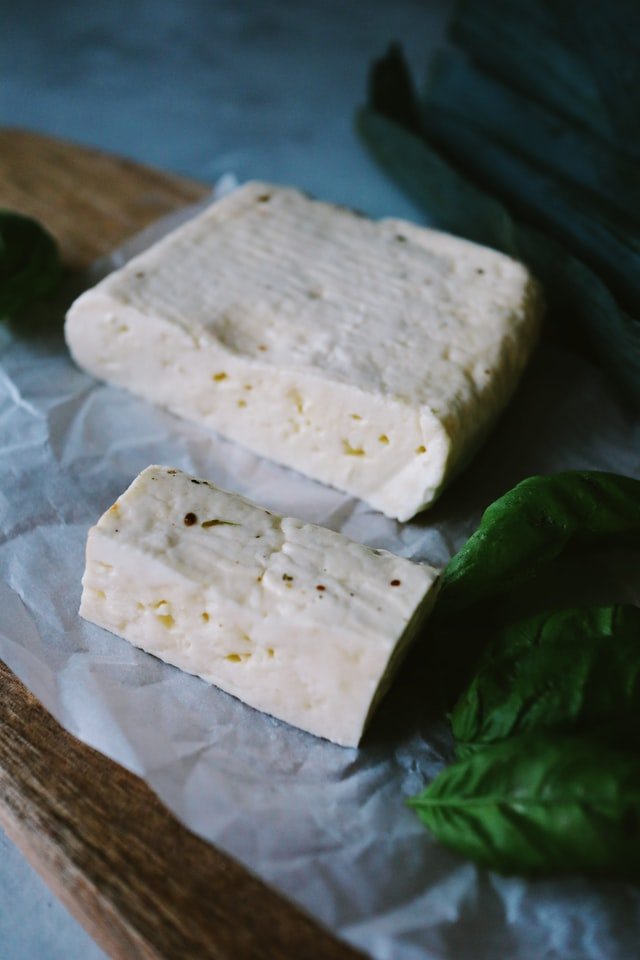
If you continue to ferment kefir, it will eventually separate into curds (milkfat) and whey (protein). The curds will form into a soft cheese which you can use like other soft cheeses.
Storing Kefir Grains
Grains can be kept active in the fridge for up to two weeks but their activity will slow down. Change out the milk after one week of fridge storage.
Storing Kefir Milk
Store your kefir milk in the fridge unless you plan on carbonating it, creating a fizzy drink that is delicious and satisfying.
How to Carbonate Kefir
After you have strained the grains out of your kefir, allow the kefir to continue to ferment on the counter for a further 24-36 hours with a loosely fitting cap. Do not use a tight cap or your glass bottle could shatter!
Beginner Tips
In the beginning, kefir will likely taste a bit unusual and you may find it difficult to get used to the taste. I recommend starting with my “Dairy Kefir Made Simple” printable recipe: “tiny batch” and always keep a half cup of kefir culturing on the counter. Once you get used to the taste and want to branch out with kefir bread and flavored kefir recipes, move up to a “medium” sized batch or double that to make a large batch. I have a friend who goes through a full gallon of kefir a day!
Does Kefir Detox Your Body?
It may take your body a little while to adjust to the super-power probiotics in kefir. Your body may go through a slight “detoxing phase” where you could experience some uncomfortable symptoms. Donna Schwenk calls this a “healing crisis” and says that this could take somewhere between three days and a week. The new probiotics have to fight off the pathogens in your gut and if you’re new to a Nourishing Traditional diet, your gut may take some time to adjust. Some ‘adjusting symptoms’ include dihareha, loose stools, constipation, headaches, fatigue or fever. However, once your body adapts to the new healthy bacteria, you should feel good and enjoy more energy whenever you drink kefir. Take it slow and easy and allow your body to adjust gradually.
How to Flavor Kefir
There are endless options to flavoring kefir, but here are a few to get you started. Add one of these into your finished kefir in the second fermentation (carbonation) stage:

- Cacao and spices such as cinnamon, nutmeg, and allspice (either ground or whole)
- Carrot juice or shredded carrots and vanilla
- Lavender flowers
- Chai spices such as whole or ground cinnamon, cloves, or cardamom pods
- Citrus zest
- Organic extracts and flavorings
Strain out the flavorings such as leaves, spices, or flowers. Then add in a whole, real food sweeteners such as raw honey, whole powdered stevia, sucanat, or maple syrup to taste.
Kefir Recipe Books I Recommend

If you’re just starting and want to dig deeper into basic kefir making and various drinks to make with kefir, start with:
- Fermenting Volume 3, Milk Kefir by Rashelle Johnson. I prefer this book for its simplicity and basic drink recipes. This book is also available on Amazon Kindle.
If you’ve been at this for a while and want to branch out to other recipes you can make with kefir and its by-products, such as whey soda and kefir cheese, try this book by Gianaclis who grew up in Greece and offers a very broad cultural perspective. She also offers a variety of recipes including soups, sauces, dips and beverages including nut-milk kefir. It is beautifully illustrated.
- Homemade Yogurt and Kefir by Gianaclis Caldwell.
FAQ
Can I use store-bought milk to make kefir? Yes! You can. It’s a wonderful way to add back in a huge variety of probiotics that the pasteurization process takes out! Of course, I always recommend raw grass-fed milk if you can find it.
How long do you ferment milk kefir? 24-48 hours.
Can I make dairy-free kefir? Yes! You can make water kefir or non-dairy kefir. For non-dairy kefir, such as with nut milks, rice milk or coconut milk, you will need to refresh your grains with dairy kefir ever so often so the grains don’t weaken. For water kefir, you will need to use “water-kefir” grains instead of “dairy-kefir” grains.
How do I grow my kefir grains? Kefir grains grow very slowly – ⅛ of an inch during a successful fermentation.
Kefir for eczema? While every person’s body is different, studies show that both internal and external (topically applied) kefir helps improve eczema conditions.
Is it safe to drink kefir every day? Yes! However, it’s important to start slowly and gradually increase the amount you drink each day. In the beginning, your body may have some detox reactions while your gut adjusts to the new powerful bacteria being introduced to it.
Breakfast Kefir Recipes
- Matcha Kefir Smoothie.
Put into blender:
- 1 avocado
- 2 – 3 C. homemade raw kefir
- 1 tsp. Organic matcha powder
- 1 tsp. vanilla
- 2-3 Tbs. raw honey
- Blend. Top with raw cream and a matcha powder sprinkle.
2. Kefir Pancakes
- 2 cups freshly ground einkorn or whole wheat flour
- 2 cups kefir
- 2 eggs
- 1/2 tsp sea salt
- 2 tsp baking soda
- 2 Tbsp melted butter
- Mix up the flour and kefir and allow to soak overnight or around twelve hours. In the morning, mix up the eggs and add in the rest of the ingredients. Fry on low in butter.
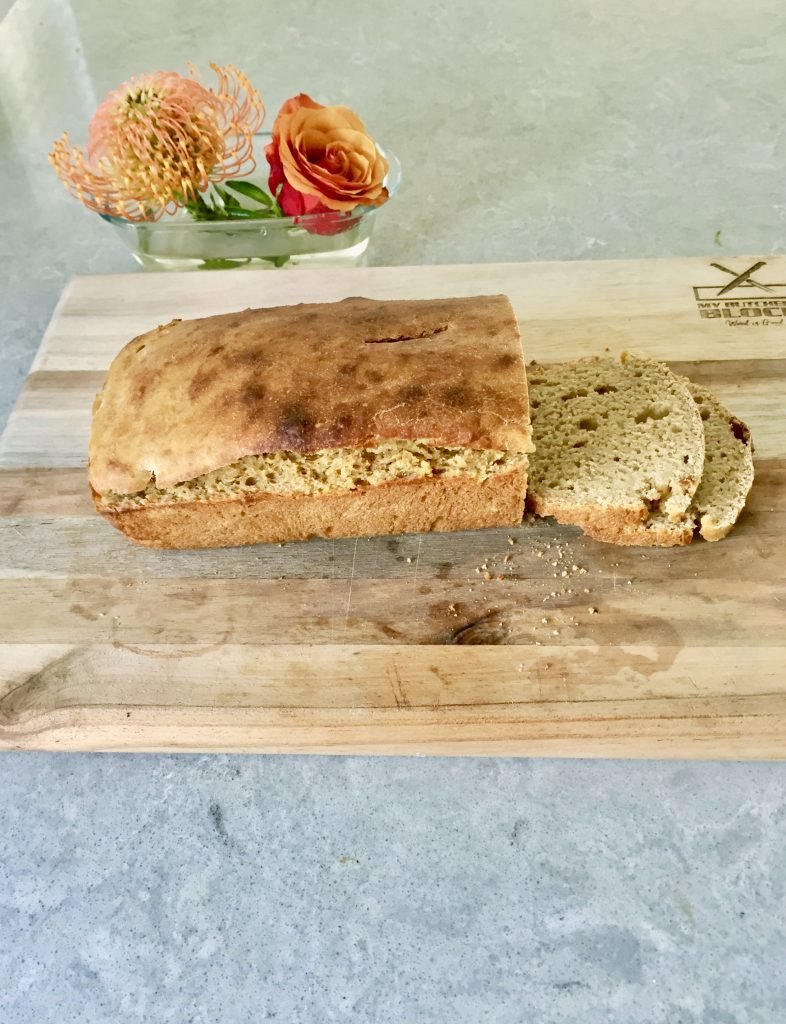
Check out my free printable for kefir bread!

(Disclaimer: Some of the links on this post are affiliate links and I receive a small commission on your purchase. Thank you for supporting Barefoot in the Grass.)
Once you get started with kefir, it’s pretty simple to maintain. You just keep straining out the grains and adding in milk every day. The health benefits to your gut, mental health and longevity make this drink a ‘must-make’ for every traditional foods cook or healthy-person wannabe.
CHEERS to Kefir!


